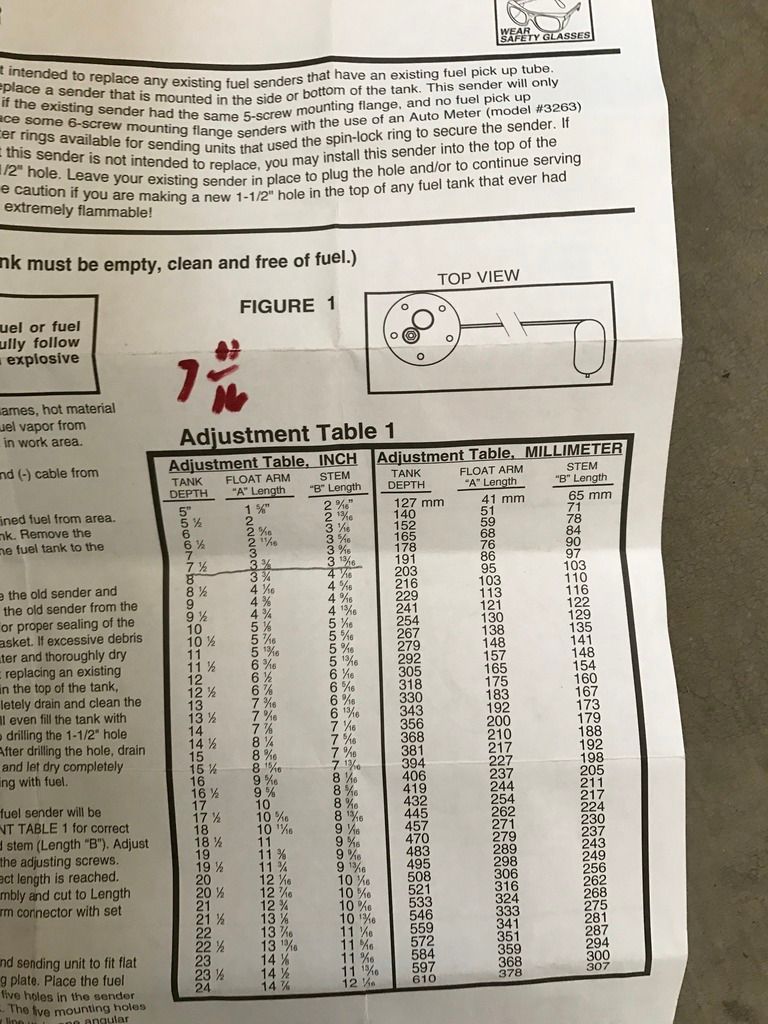
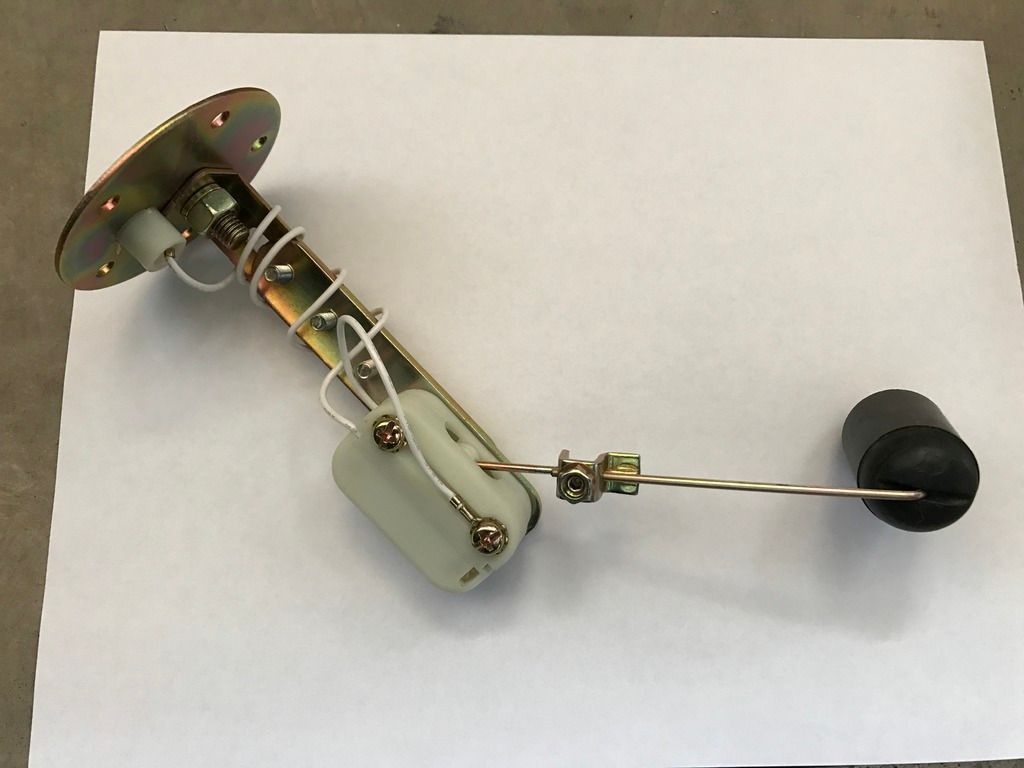
Next step was to set up the sending unit. The sending unit provided with the kit is a nice piece and came with very clear instructions on how to set the proper depth and swing radius. Below is a picture of the chart that was provided with the sending unit.
Final result was this:
I had cut out masking tape template from the gasket provided with the sending unit and put that in place over the sending unit opening prior to applying Shark Hyde to the tank. I did this so there would be no Shark Hyde where the gasket mated against the tank surface. Unfortunately, I don't have a picture, but I think it is self explanatory enough. Just don't use the Shark Hyde where you will be adding chemical sealant.
I also added the fittings to connect AN lines to the steel 3/8 fuel line already in the car. It was a little difficult finding a 12AN fitting that reduced to a 6AN but I did find one with a 90 bend made by Earls performance.
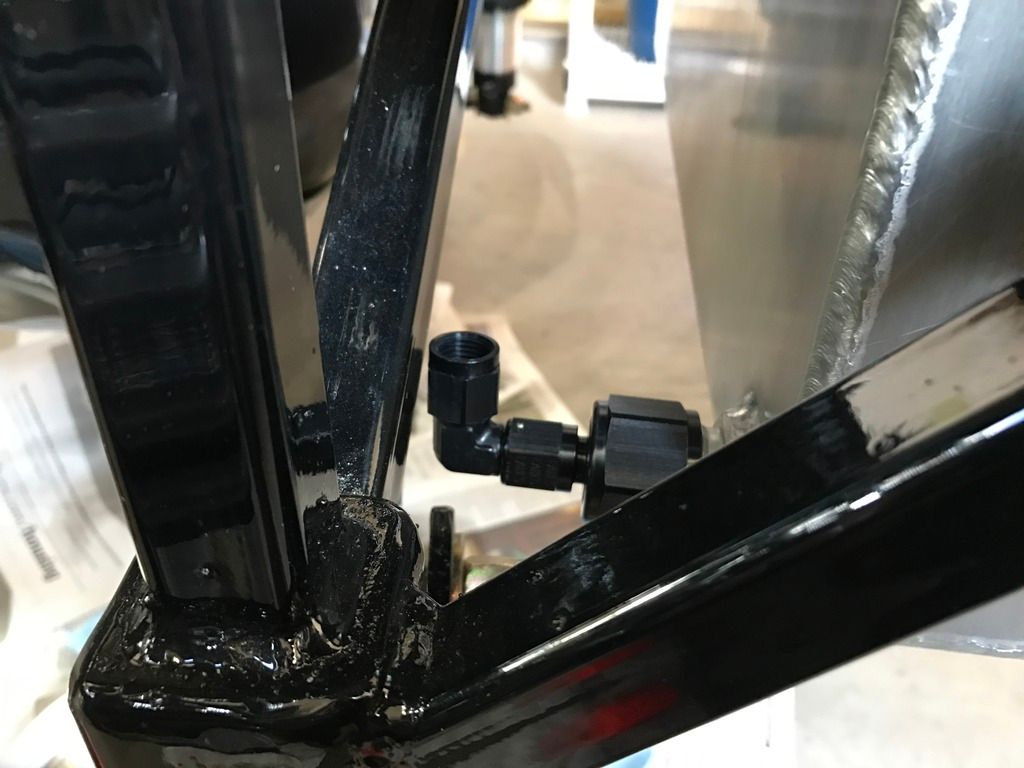
After looking at this fitting, I realized that I didn't like the proximity of the nut to the panhard support bar and found another fitting with a different profile that gave me a bit more room:
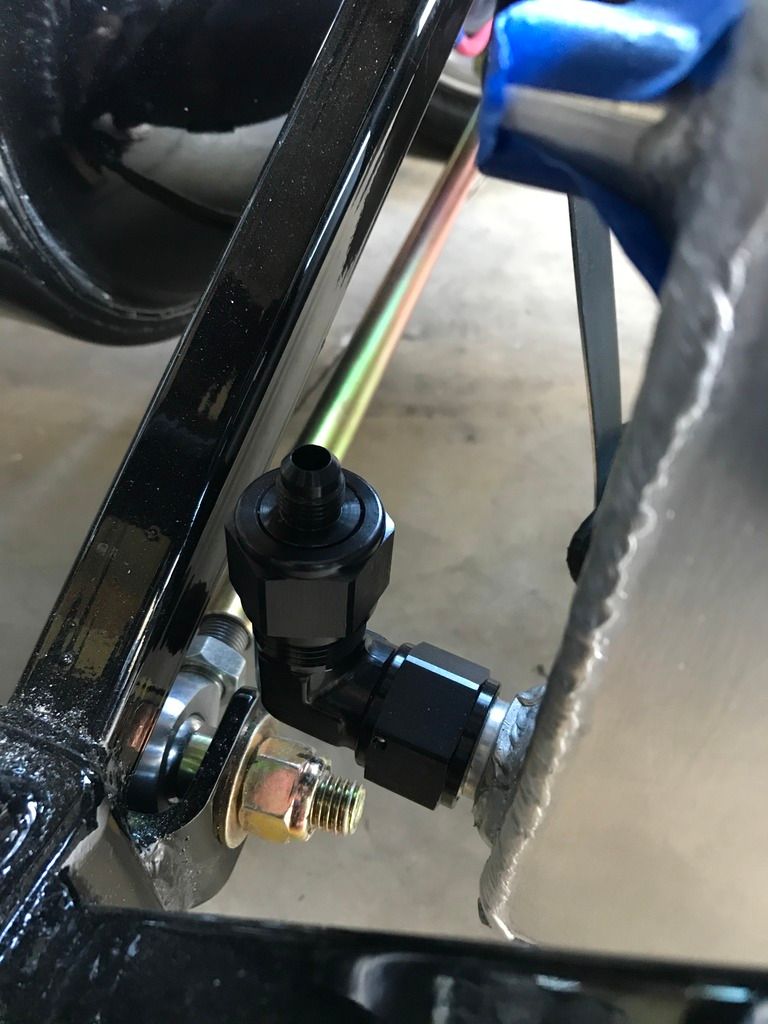
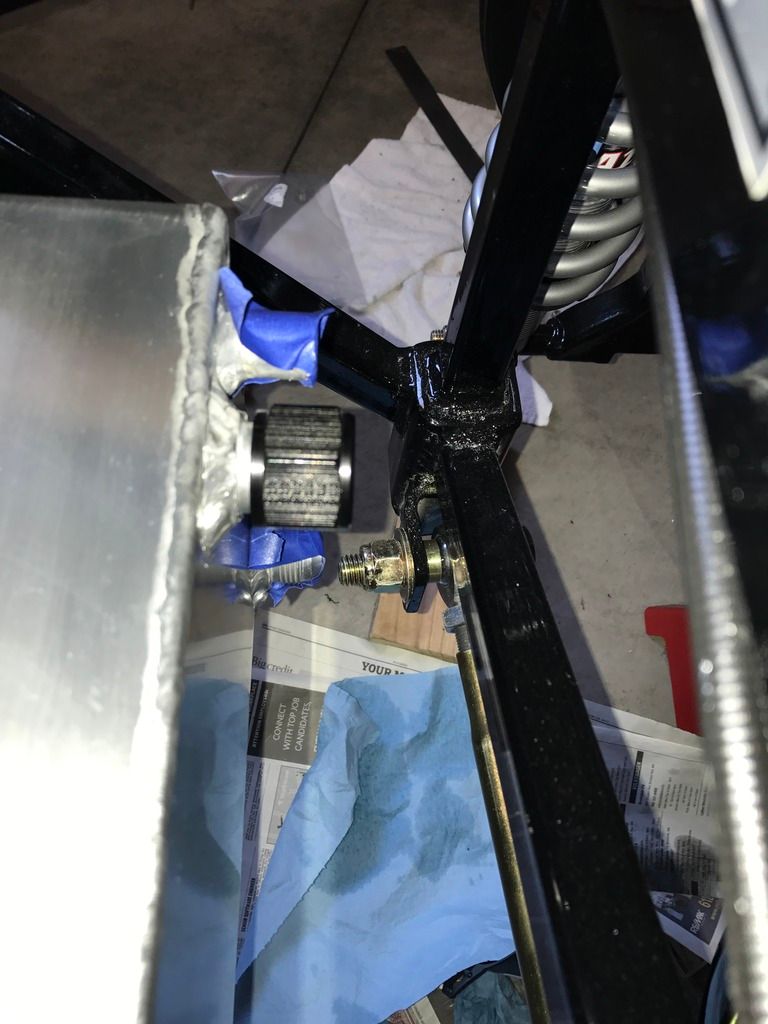
I also capped off the return line using an Earls Performance AN fitting. The additional port in the tank that is covered by blue tape in the backround will go to the vent tube. This has to be positioned higher on the car than anywhere else in the fuel system so I will wait to install it for now.
