Next step was to install the brake lines. This was even more of a learning curve as the tubes are smaller, the turns and bends are tighter and you will DEFINITELY need to learn how to cut and flare brake line. I called one of my buddies who has an Eastwood tube brake line flaring tool. It is the expensive one that mounts in a vise. Let me tell you, spend the $250 to get this thing. It effortlessly makes perfect flares in seconds for brake lines.
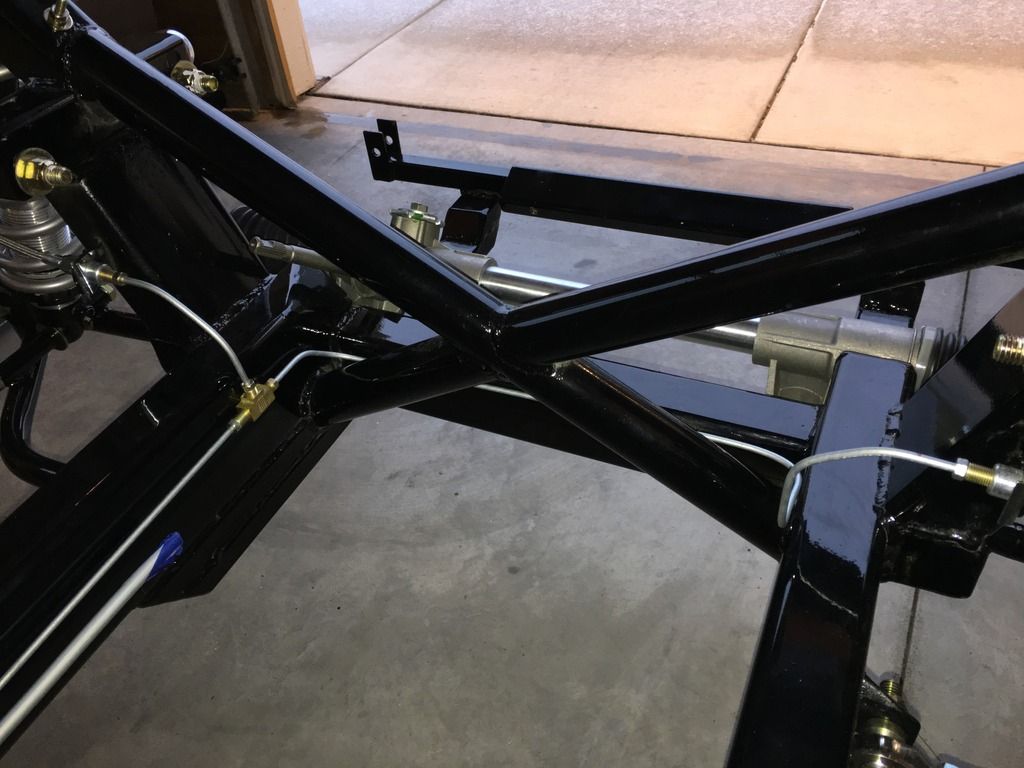
I installed the front hard line first:
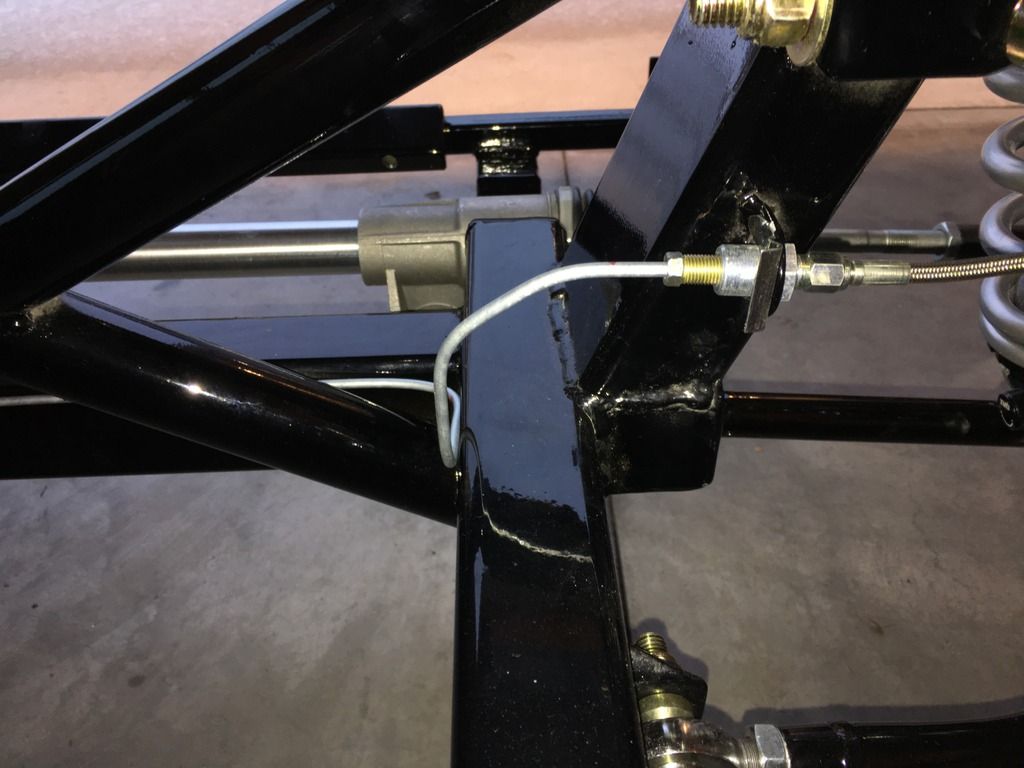
This was brought around to a "T" on the drivers side of the car and the drivers front caliper hard line came down from the coupler to the "T to join the front hard line:
Here is how I secured this "T" to keep it from moving:

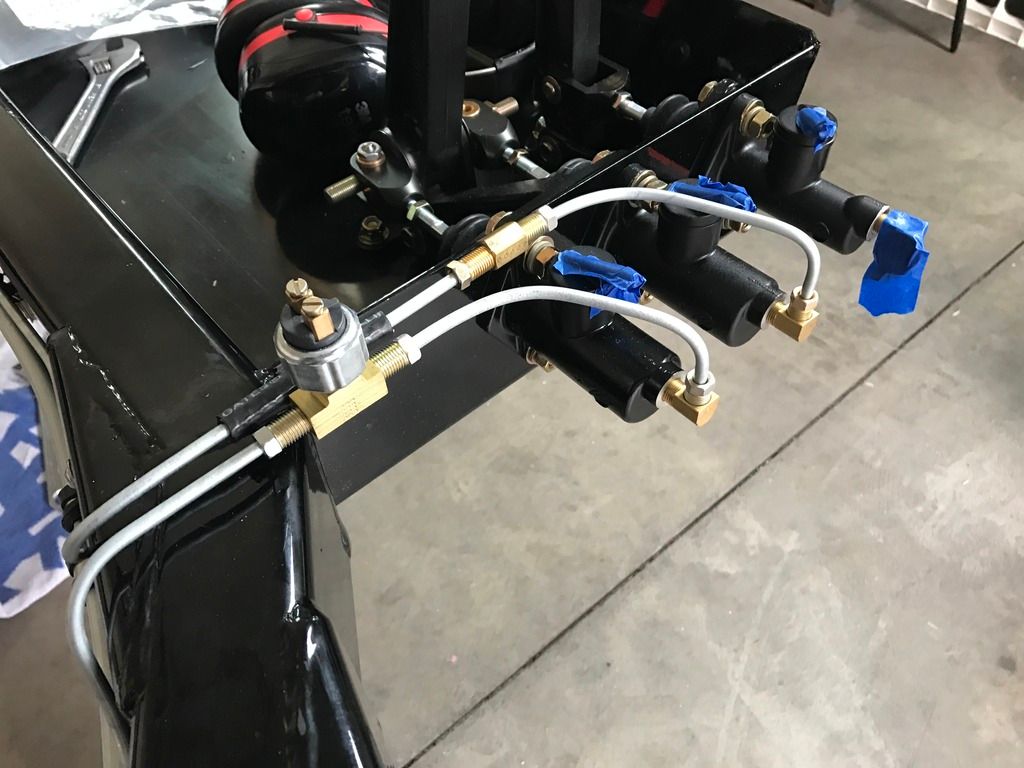
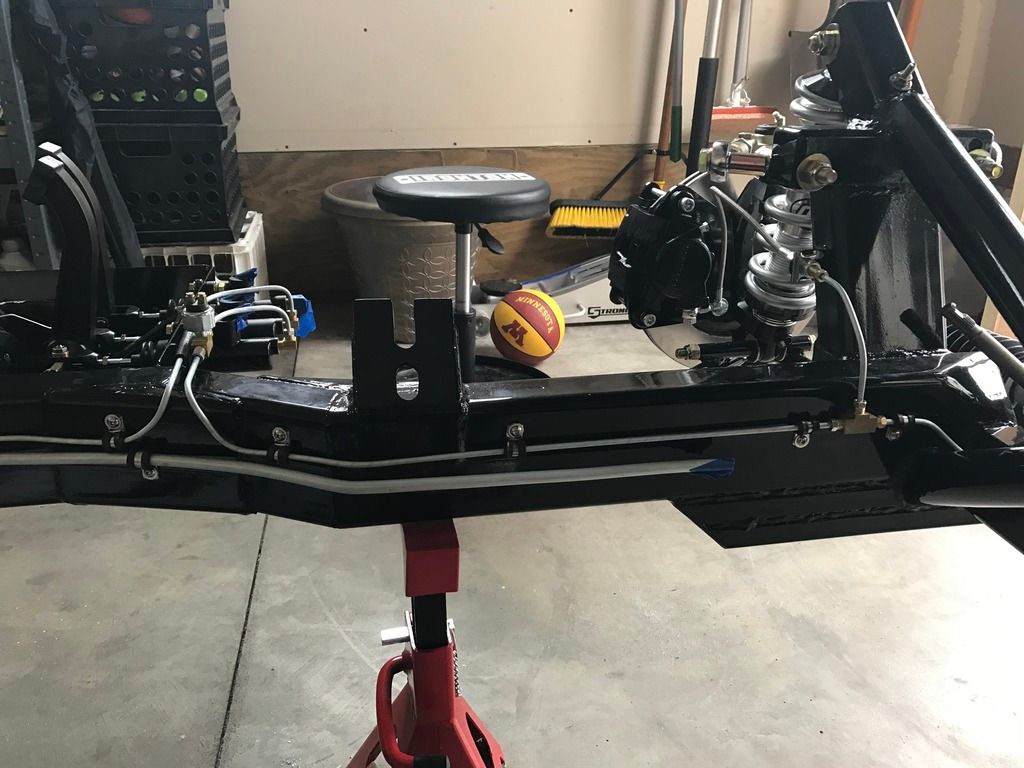
From the "T" the front main hard line was installed running along the main frame rail, then up over the frame rail, into the brake light switch (Napa part number SL144) and then another small line was added to run to the master cylinder mounted farthest to the right in the group of master cylinders.
Here is a picture of the brake light switch and shorter line running to the master cylinder. To make some of those tight bends I used an extension attached to a socket installed in a vise and applied muscular persuasion to make those curves. The vise held the extension with the socket flush on the vise. I slowly bent the tube around the socket being careful not to kink the line. My thumbs hurt for a week. Also, note that on the master cylinder I used a 90 degree fitting with NPT on one end and and standard flare on the other end for the brake line: